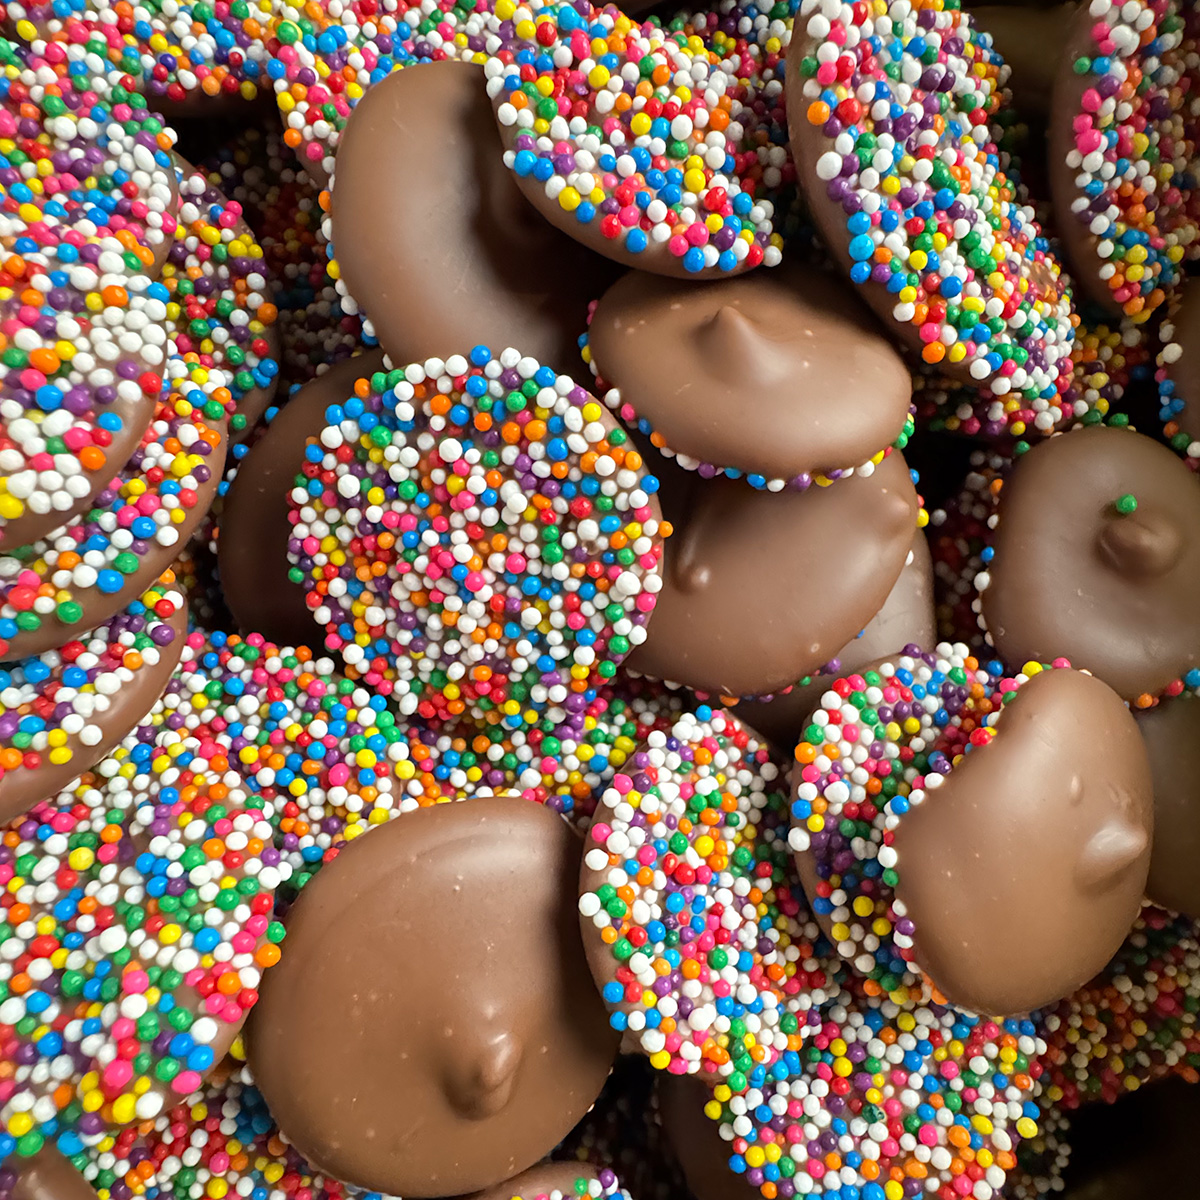
Looking for that extra special topper to your desserts or a perfectly-portioned sweet snack for your next movie night? This recipe is your answer! Creamy milk chocolate is piped over a bed of rainbow nonpareil sprinkles for the ultimate just-because-you-deserve-it treat!

Jump to:
When it comes to chocolate snacks, there are almost too many options to choose from (and these are the types of problems to have!). If you're craving crunchy, then try chocolate caramel popcorn or homemade brownie brittle. But if you can't decide between crunchy or creamy, this recipe is a great all-in-one.
This recipe is SO much better than the nonpareils sold in grocery stores because this uses either premium or coverture chocolate--whichever you prefer. If you've read my other recipes, you know that coverture chocolate is my go-to for its higher cocoa butter content. More cocoa butter equals higher quality and a creamier finish.
Callebaut is my favorite coverture chocolate brand, and in my experience, I find that most chocolate shops also use Callebaut callets, with Valrhona as a close second. But if you can't get coverture chocolate, then using any premium chocolate (i.e., one that includes cocoa butter instead of vegetable or palm oil) will work just fine-- it just won't have the same creamy, shiny finish as coverture.

What are Nonpareils?
Nonpareils are flat disks of either melted or tempered chocolate that are piped atop a thick layer of nonpareil sprinkles, hence their name. The type of chocolate varies, but milk and dark chocolate are the most common flavors. Nonpareils that are either green, pink, or yellow are considered "pastel nonpareils" and have a minty flavor.
Reasons to Make This Recipe Today
- Better than any store-bought versions -- ever experience the sore disappointment of spending a lot of money on nonpareils at the store, only to find that they are made from cheap chocolate (without much, if any cocoa butter) and are exceedingly bitter? Yeah, me too, and I finally have had enough! This recipe uses premium chocolate for a superior texture and taste.
- Make in bulk -- this recipe is designed to make a large quantity of candies, making these perfect to have all week long.
- They are fun to make -- while chocolate work can be more involved, this recipe is super simple and easy to get into a piping rhythm, creating 100+ candies in less than 10 minutes once the chocolate is ready to use!
- Perfectly-portioned chocolate treat -- these candies will satisfy your sugar craving without involving heavy, overindulgent desserts.
- Makes a great gift -- chocolate gifts for literally any holiday or occasion. Fill up a box or gift baggie of these tasty confections for a homemade gift guaranteed not to disappoint.
Ingredients
Coverture or premium chocolate -- do NOT use melting wafers, chocolate chips, or otherwise any compound chocolate that uses vegetable oil, as this will resemble those nasty grocery store versions. Instead, use premium or coverture chocolate for a luxuriously creamy taste perfectly contrasted by the crunchiness of the sprinkles.
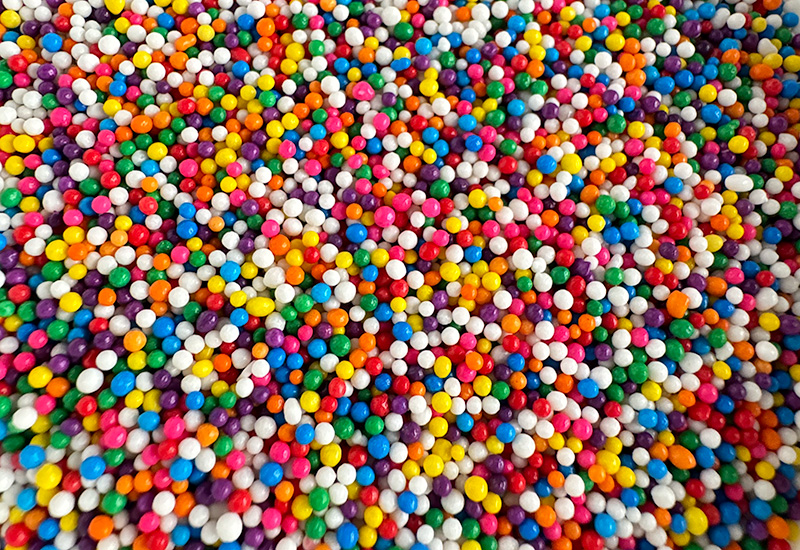
Nonpareil sprinkles -- I used rainbow sprinkles for this recipe, but feel free to use whatever colors you like. Dark chocolate nonpareils typically have white sprinkles, for instance, and red and green sprinkles are often used during the holidays for a more festive flair.
Tips for Success
- While you can use melted chocolate for this recipe, I usually prefer to temper my chocolate whenever possible so that the candies don't melt in your hand, and have an overall cleaner, shinier finish.
- Spread the sprinkles out into a thick layer -- I recommend using a few rimmed paper plates, since they are wide enough while still having a lip to keep the sprinkles neatly contained. If the layer of sprinkles is too thin, the chocolate will seep underneath and blemish the end result.
- Nonpareils are typically between the size of a an American nickel and a quarter, but it's totally up to you as to how big or small you want to make them. Shoot, you could even make Snowcaps (nonpareil-covered chocolate chips) if you'd like!
- Freshly-set chocolate is highly susceptible to fingerprints, so I advise to use latex gloves when removing the finished chocolates from the bed of sprinkles.
Detailed Preparation Instructions
- Spread the sprinkles across a wide, rimmed surface (either a baking sheet or a series of rimmed paper plates).
- Depending on your preference, either melt or temper the chocolate according to package instructions. For this recipe, I choose to temper the chocolate.
- Once the chocolate is prepared, scoop into a confectionary funnel, leaving 1-2 inches of space from the rim. Keep your finger off of the trigger until ready to use.
- Holding the funnel straight (NOT at an angle), hover the tip of the funnel immediately over the sprinkles (without actually touching the sprinkles) and pull the trigger. Release the trigger when the desired size of candy is reached.
- Allow the chocolate to set undisturbed at room temperature for 15 minutes, then chill in the fridge for another 15 minutes. Gently remove each candy and place in an airtight container.

Nonpareils
Equipment
- 1 medium-sized heatproof bowl
- 1 pot or saucepan if using a double-boiler for melting
- 1 rubber spatula
- 3-5 rimmed paper plates or a rimmed baking sheet
- 1 confectionary funnel
Ingredients
- 700 grams premium or coverture chocolate plus 1-2 handfuls for seeding
- 14 ounces nonpareil sprinkles (any color)
Instructions
- Pour the sprinkles out onto the paper plates in a thick layer -- the more sprinkles, the better!
- Melt or temper the chocolate, either by using the microwave or a double boiler.
- Scoop the chocolate into the confectionary funnel and hold the tip until it's just over the bed of sprinkles. Squeeze the trigger to allow chocolate to flow, and then release the trigger once you achieve your desired size. Repeat until you can't fit any more candies.
- Allow the chocolates to sit undisturbed for 15 minutes at room temperature, and then chill in the fridge for another 15 minutes until fully set.
- (Preferably with a gloved hand), carefully remove the chocolates from the plates and place in an airtight container. Repeat the entire process using all of the remaining chocolate.

Leave a Reply